How Does Card Grading Work? What a Professional Grader Actually Checks
How card grading works: a practical at-home inspection heuristic for centering, corners, edges, and surface before you submit.
Grading companies don’t publish their full internal review process, so we can’t say this is officially how every grader works every time. But it’s a genuinely useful mental model for a home inspection: assume the card is a 10, then go looking for the flaw that would knock it down. As a rule of thumb, centering and surface tend to matter most for eye appeal, and corner damage compounds — in our experience, one flawed corner is often still consistent with a 9, but two tends to pull a card toward an 8. Treat this as CrackorKeep’s practical heuristic, not a published PSA formula.
Use “Start at 10” as an At-Home Heuristic
For a home inspection, assume your card is a pristine 10 until the card proves otherwise. This isn’t a claim about an official grader workflow; it is a way to counter the collector instinct to build up from a general impression: clean card, sharp corners, probably a 9 or 10. Starting from a 10 forces you to stop looking at the card like a collector and start looking at it like an evaluator. Instead of asking “does this look nice?”, you’re asking “what’s the first thing that keeps this from being a 10?”
It’s one of the biggest reasons submissions come back lower than expected. If you grade by overall impression, you stop looking once the card feels good. A grader keeps looking. More often than not, the flaw that sets your grade is the small one you almost skipped over.
How to Prioritize the Four Categories at Home
Grading companies don’t publish a universal category-weighting formula. For a home inspection, centering and surface are useful places to start because they drive eye appeal — an off-center card announces itself from across the table, and a crease jumps out the moment the card is in hand. A slightly soft corner, by contrast, might need magnification to find at all. That is CrackorKeep’s practical triage order, not a published PSA weighting system.
The four categories, in practice:
- Centering — border ratios, front and back. On borderless or busy modern designs, graders measure from design elements like logos and nameplates instead of borders.
- Surface — gloss, scratches, print flaws, dents, creases. The hardest category for everyone, pros included.
- Corners — sharpness and whitening under magnification, front and back.
- Edges — chipping, whitening, rolled or lifted edges, rough cuts.
If you’re triaging a card at home, start with centering and surface, then work down to corners and edges. For where the bar sits on the top grade specifically, see the exact PSA 10 requirements — the tolerances there show how narrow “near-perfect” really is.
A Practical Two-Corner Rule of Thumb
In our experience, one flawed corner is often still consistent with a 9, while two tends to pull a card toward an 8. That is a useful planning heuristic, not a universal grade cap or a published grading-company rule.
The part collectors miss is how corner flaws add up. Light whitening spread across multiple corners can matter even when no single corner looks bad on its own. A card like that reads as clean at arm’s length, and the pattern may not show until you go corner by corner under magnification. A 10x loupe is a useful home-inspection tool for finding those flaws, but the number of affected corners does not create an automatic published grade.
Why Two Small Problems Are Worse Than One Big One
Multiple flaw categories on the same card can compound in a home estimate rather than averaging neatly. Mild off-centering plus a rolled edge should lower your expectation more than either issue alone, and surface damage on both sides deserves more caution than the same flaw confined to one area. Grading companies do not publish a universal formula that assigns an automatic grade to those combinations.
It lines up with the start-at-10 mental model. Multiple distinct problems can compound in a home estimate, so don’t stop at the first flaw and file the card away as “a 9 with one issue.” Keep going. It’s often the combination of small flaws — not one obvious problem — that pulls the final grade lower than collectors expect.
Manufacturing quirks still deserve context. A faintly lifted edge that appears to come from production may be viewed differently from obvious handling wear, but grading companies do not publish a complete formula for how every such defect affects the final result.
Check the Back — Especially on Chrome and Foil Cards
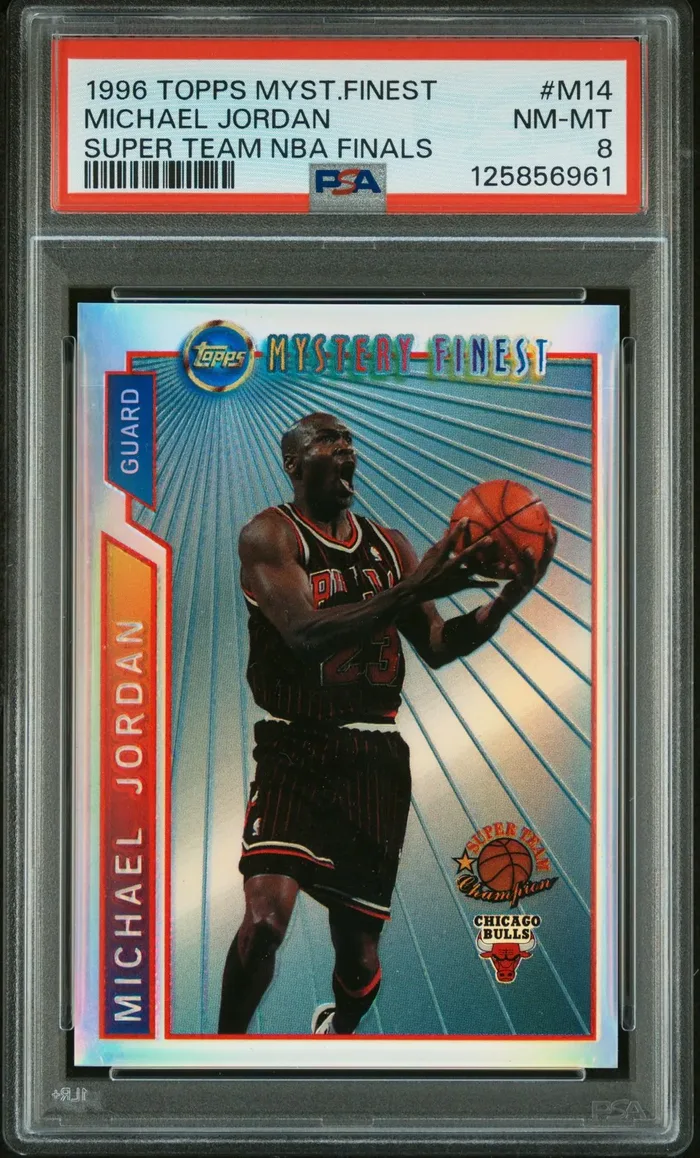
On chrome and foil cards, the back often shows damage that’s easy to miss on the front. The plastic-coated front is durable enough that a corner ding sometimes won’t register there at all, while the plain cardstock on the back takes the hit and shows it. Pros routinely spot corner damage from the back that’s invisible from the front.
So flip the card. Inspect the back with the same care you give the front: corners under the loupe, edges along all four sides, surface in the light. On modern chrome parallels this matters double, since foil is fragile at the corners and edges — corner and edge wear is what most commonly costs these cards their grade. If you only photograph and check the front, you’re seeing half the card.
The At-Home Trick Pros Use: Raking Light
One light source, tilt the card until the surface turns to glare, and watch what appears. This is the single most useful technique to borrow from professional graders, because surface is the category everyone — collectors and graders alike — finds hardest to judge, and flat, straight-on light hides almost everything.
How to do it tonight:
- Use one bulb — incandescent or a clean white LED. Skip halogen and fluorescent, and don’t go too bright; a harsh light washes the surface out instead of revealing it.
- Dim the rest of the room and position the light directly above you.
- Hold the card flat, perpendicular under the bulb, then tilt it slowly until you can’t see the design anymore — just sheen.
- Watch for interruptions in that sheen. Scratches, dimples, print lines, and hidden creases show up in raking light when they’re invisible head-on. So does residue from cleaning or polishing, which graders treat as an alteration — a much bigger problem than honest wear.
Practice on a card you already know is damaged. Tilt it until the flaw flares, and you’ll train your eye fast. A card can look flawless in a display case and still hide a crease that drops it to a 4. Raking light is one of the easiest ways to catch that before you spend money on a submission.
Try It Yourself Before You Submit
You now have a practical home-inspection checklist: use 10 as a starting assumption, inspect centering and surface early, count the corners, look for compounding flaws, check the back, and rake the light. Running it takes ten minutes per card and can save real money. CGC’s Bulk tier is $17 per card with a 25-card minimum, while PSA’s Standard entry service begins September 14, 2026. PSA’s lower-tier pricing has shifted repeatedly, so check PSA’s current services page before submitting rather than trusting a fixed entry price printed here. If the question is whether to submit at all, start with whether grading is worth it in 2026 .
Want a second opinion on what you found? Check your card free → CrackorKeep uses its own model to assess centering, corners, edges, and surface from photos and flags the most likely deduction in about 30 seconds. It is a pre-grading estimate, not an official grading-company result.
The Bottom Line
Grading rewards a specific kind of scrutiny, not a general impression. As an at-home mental model, start from perfect, look for deductions, and let the weakest finding shape your expectation. Run your card through CrackorKeep first — it’s free, and it applies CrackorKeep’s own pre-grading heuristic rather than claiming to reproduce a grader’s unpublished internal process.
Frequently Asked Questions
Do professional graders really start every card at a 10? Grading companies don’t publish their full internal review process, so we can’t say every grader always starts at 10. It is a useful CrackorKeep mental model for a home inspection: assume 10, then look for the flaw that would knock the card down.
Are the four grading categories weighted equally? Grading companies don’t publish a universal category-weighting formula. For home triage, CrackorKeep checks centering and surface early because they strongly affect eye appeal, but that is practical guidance rather than an official PSA formula.
Can a card with one bad corner still get a 9? In our experience, one flawed corner is often still consistent with a 9, while two tends to pull a card toward an 8. Treat that as a CrackorKeep rule of thumb, not a universal grade cap.
What light should I use to check a card’s surface at home? One incandescent or clean white LED bulb, directly overhead, in a dim room. Avoid halogen and fluorescent. Tilt the card under the light until the surface becomes pure sheen — scratches, dimples, and hidden creases show up in that glare when they’re invisible straight-on.
Grade Your Card Before You Pay PSA
Upload your card photos and get an instant AI estimate across centering, corners, edges, and surface. No account. No credit card. Just an honest grade.
Check This Raw Card →